Publish Web Server in Windows
2. Add VPN Account
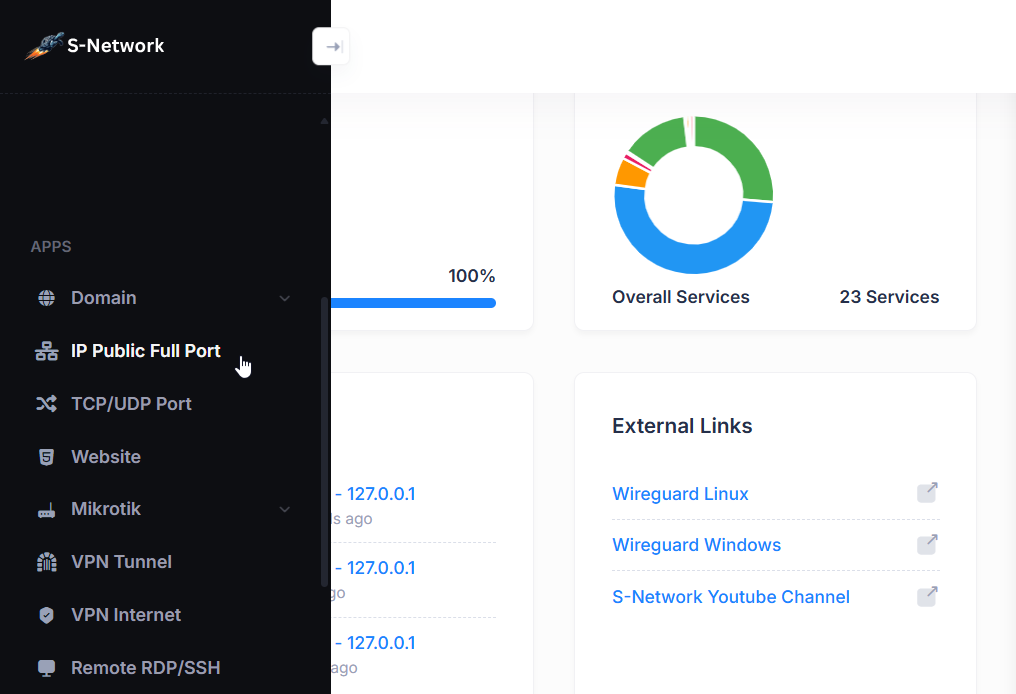
- Select the IP Public Full Port menu.
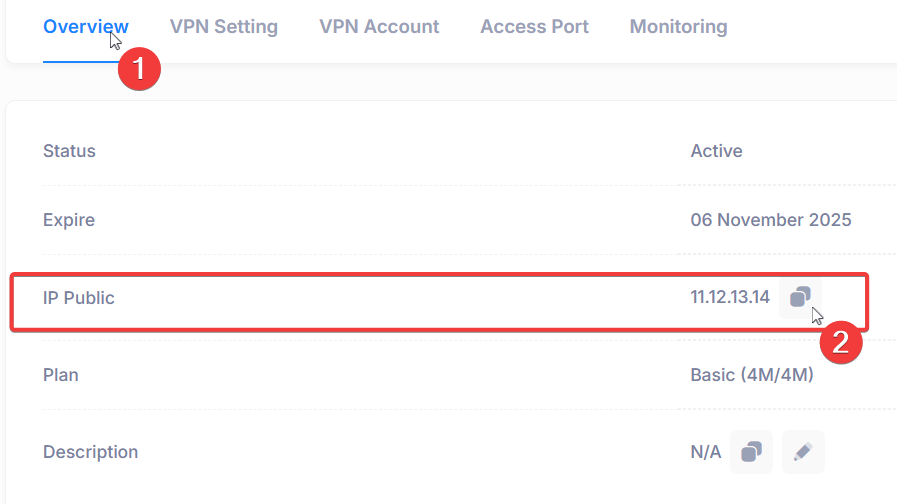
- In the IP List, click Actions then click View

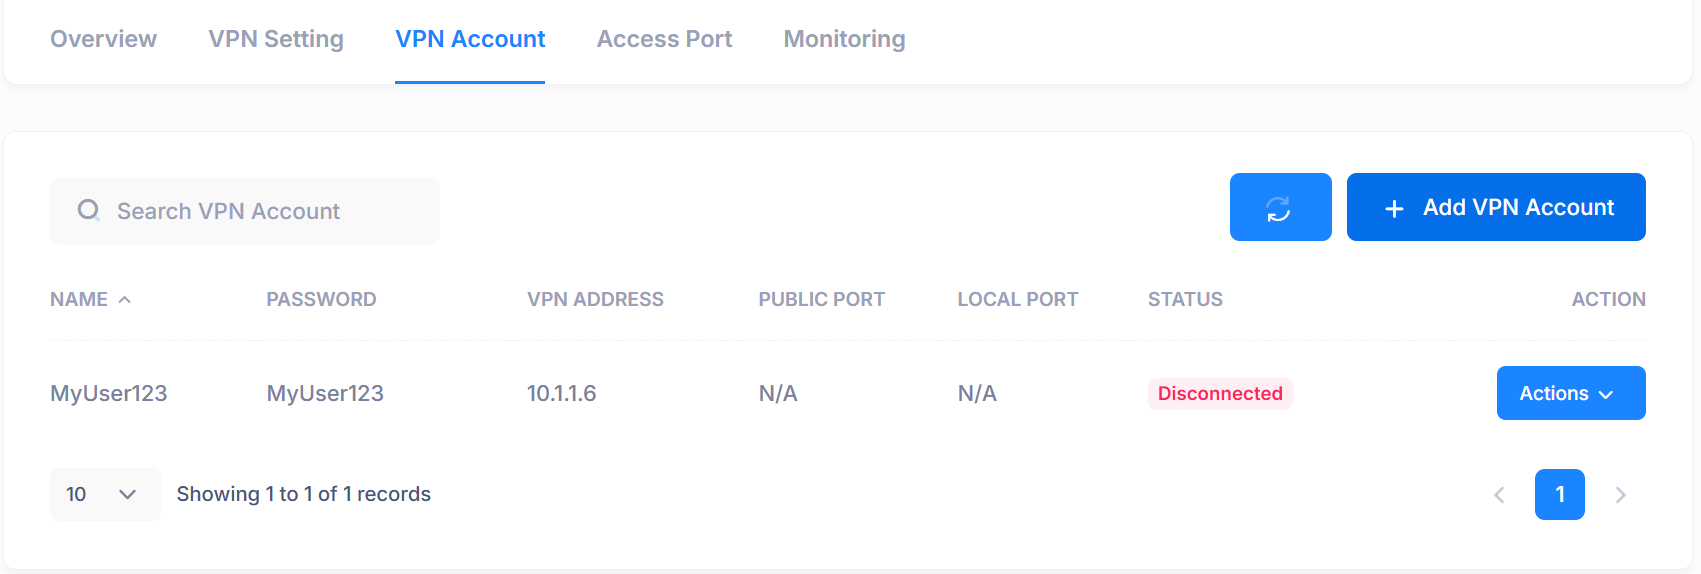
Add a new account by selecting the VPN Account tab, then clicking Add VPN Account.
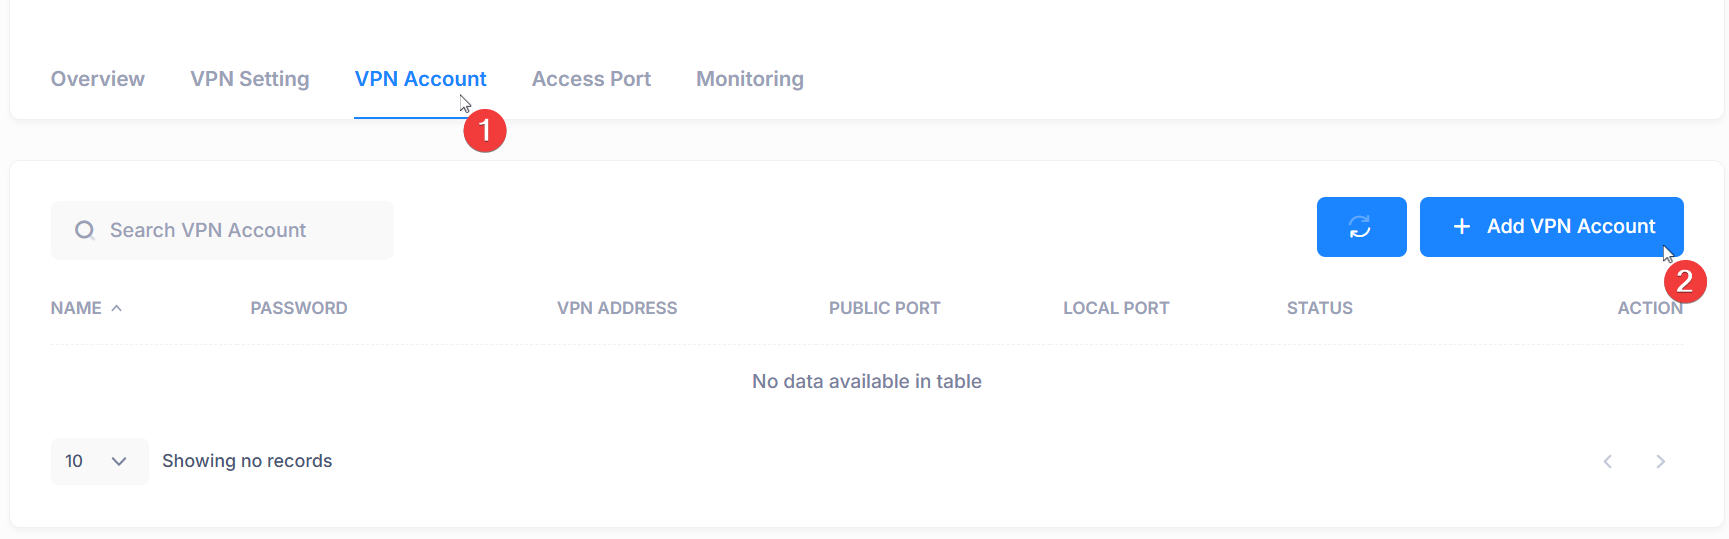
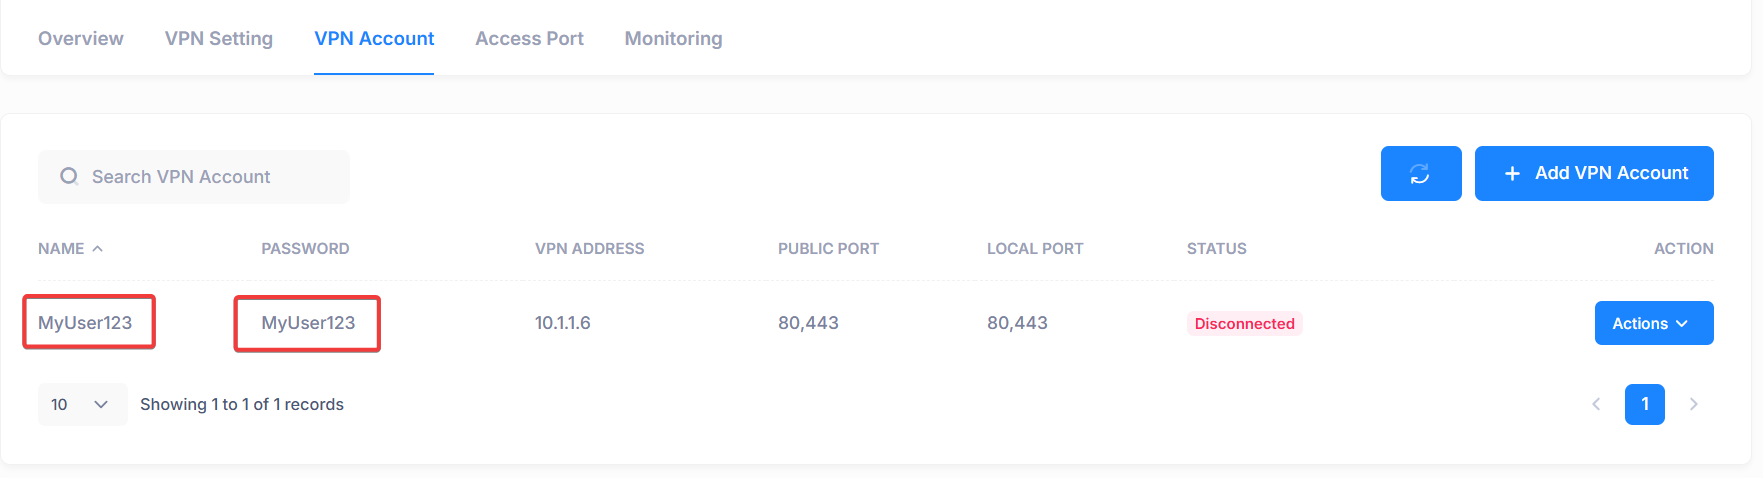
Enter your desired username and password, then click Save.
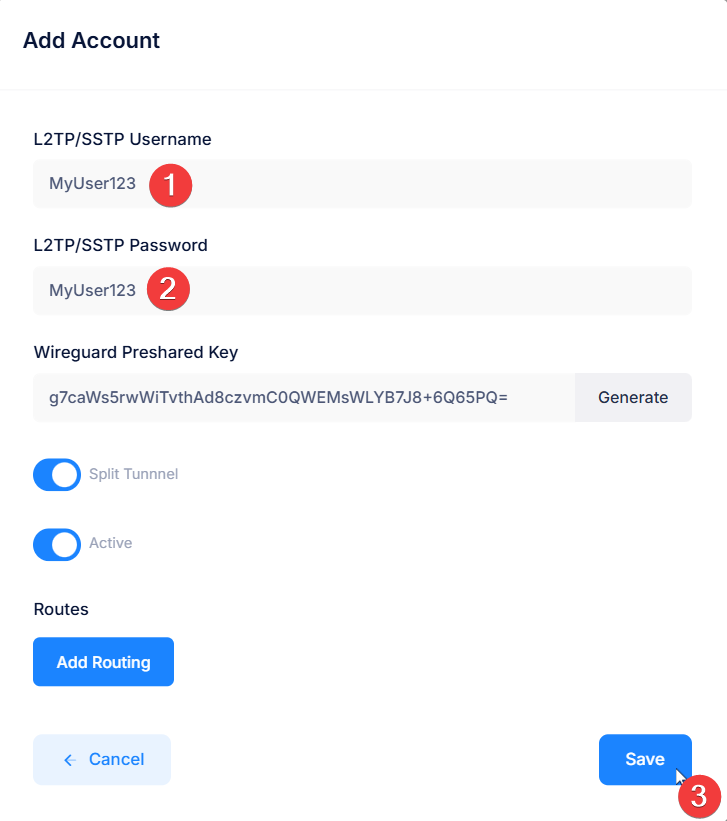
- The new VPN account has been successfully created.
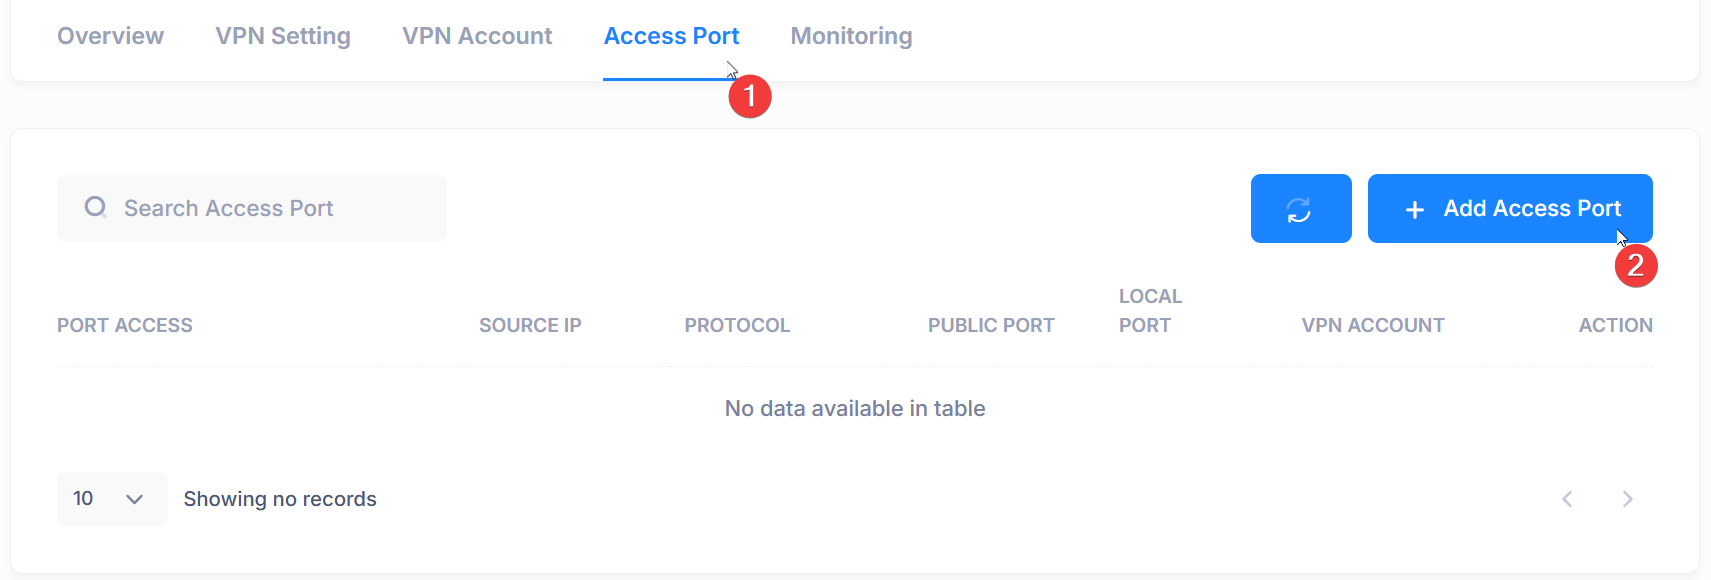
3. Add Access Port
Add a port access by clicking the Access Port tab, then selecting Add Access Port.
Choose either the TCP or UDP port, then select Local Port 80 and Public Port 80. Also, choose the VPN account to which port 80 will be forwarded, and click Save.
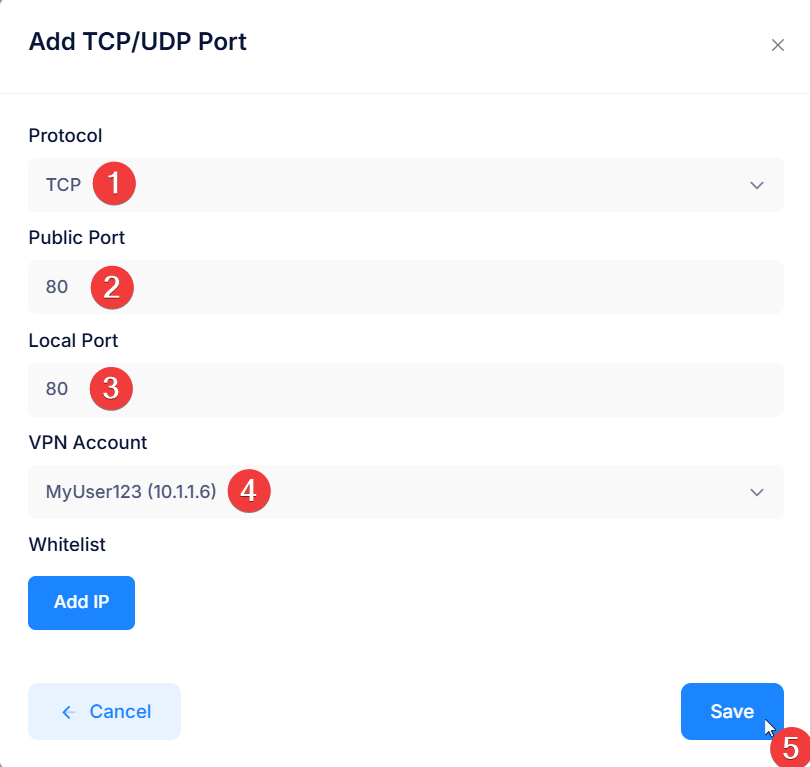
Also add an Access Port for TCP 443.

4. Connecting VPN Account
Choose one of the VPNs to use: either WireGuard for Windows or the built-in Windows VPN.
Via Windows Wireguard
- Download and open Wireguard application
Install Windows Wireguard Guide - Copy script from VPN Account
From VPN Account Tab, Click Actions then click Config/Script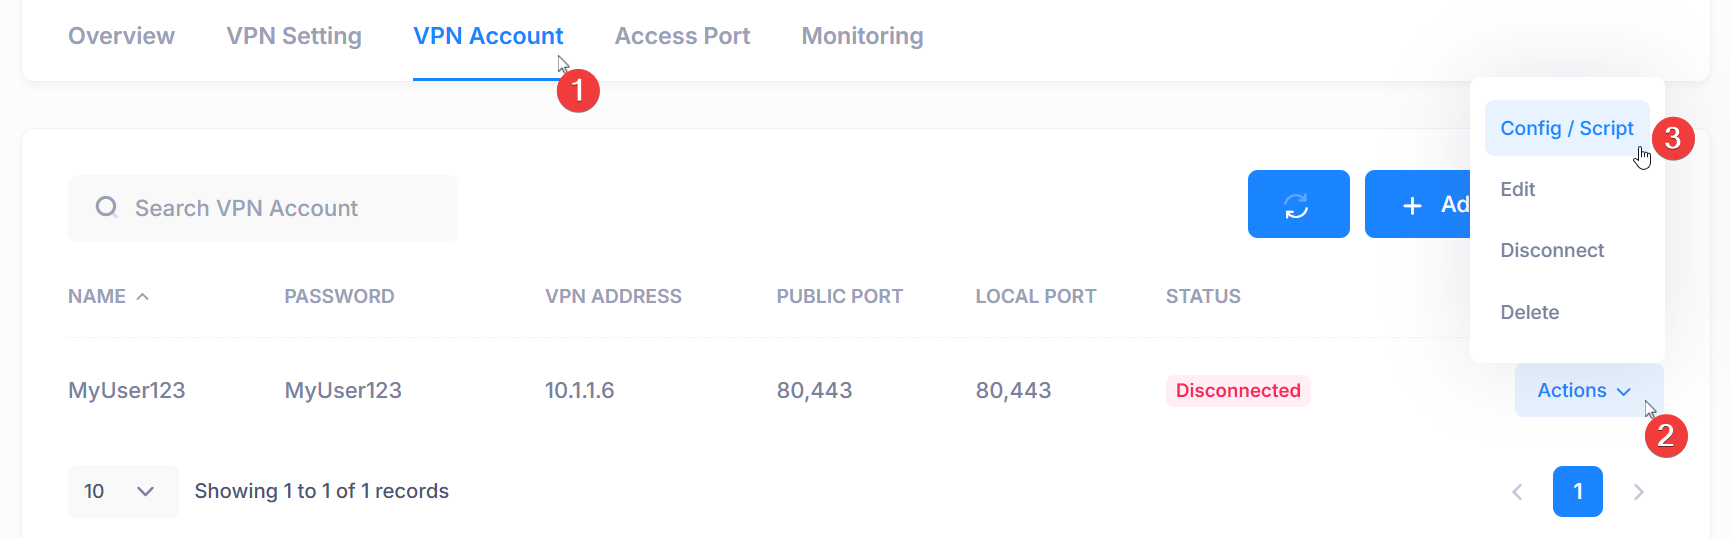
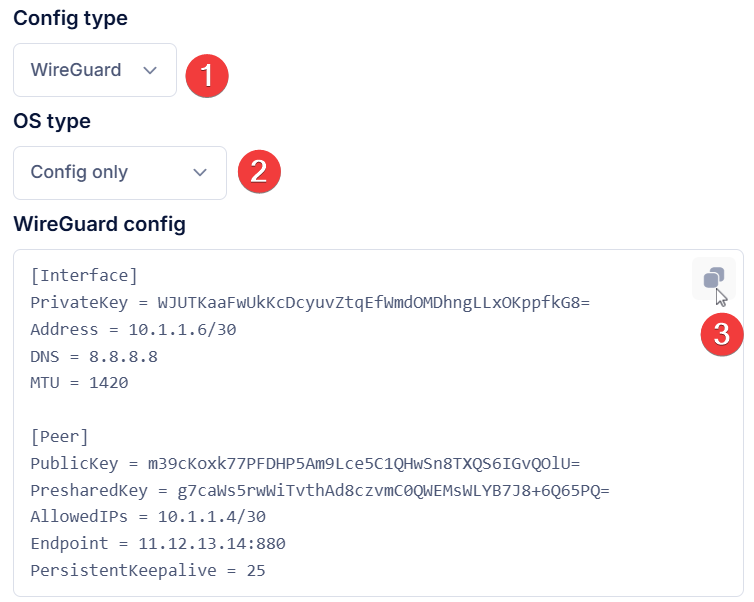
Select the WireGuard config type, then choose OS Type: Config Only, and click the copy icon to copy the WireGuard script.
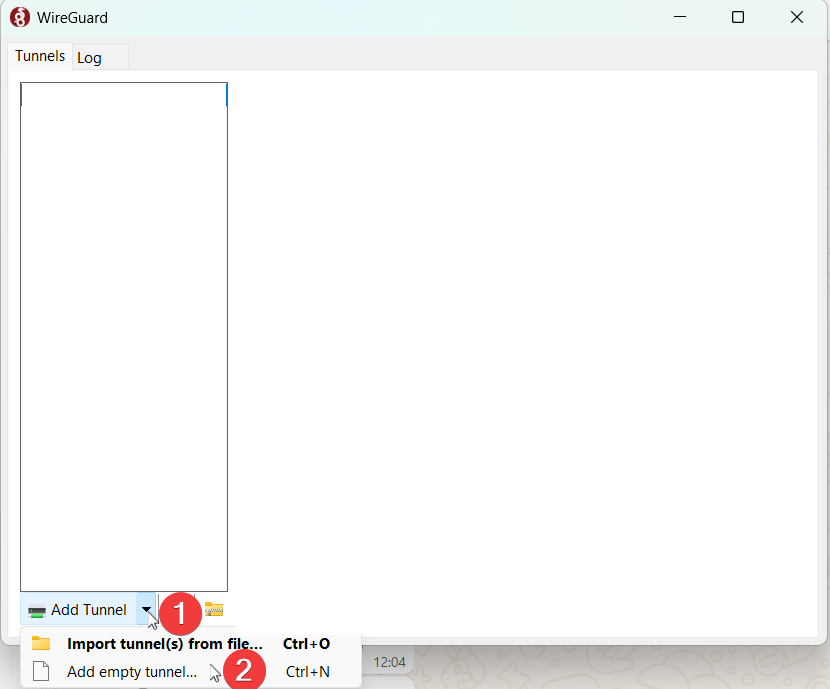
Select Add Tunnel, then choose Add Empty Tunnel.
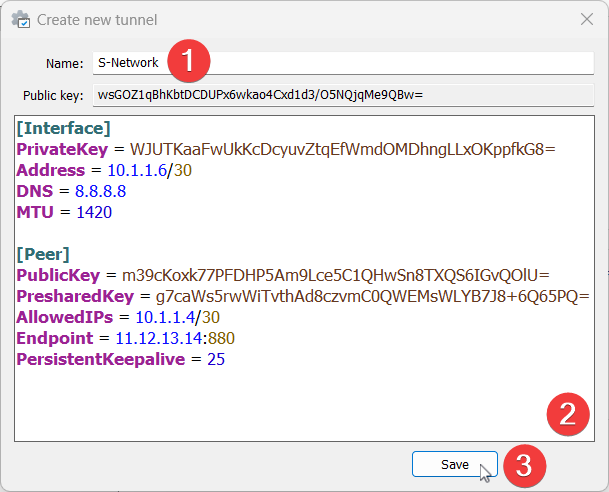
- Enter a Name, paste the script, then click Save to store the configuration.
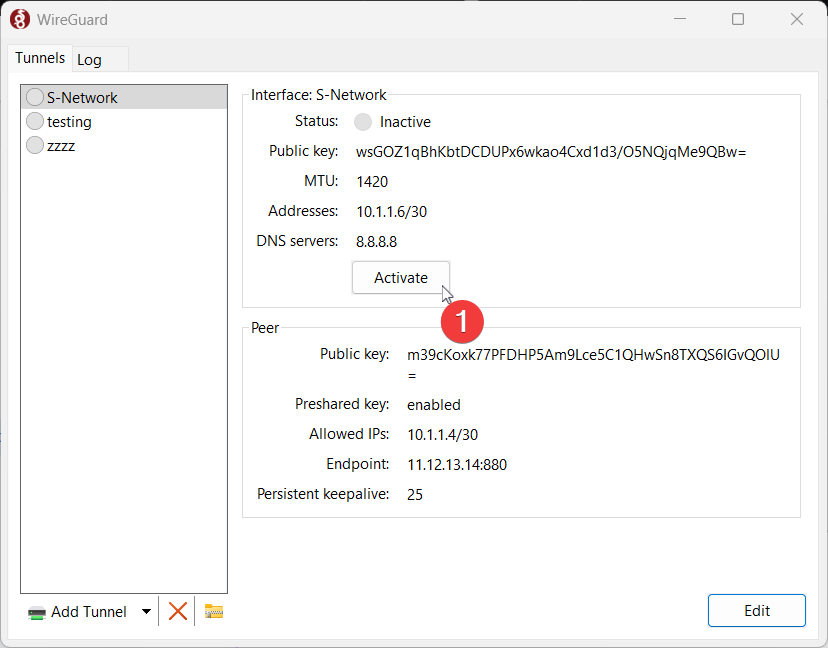
Click Activate to connect to the VPN
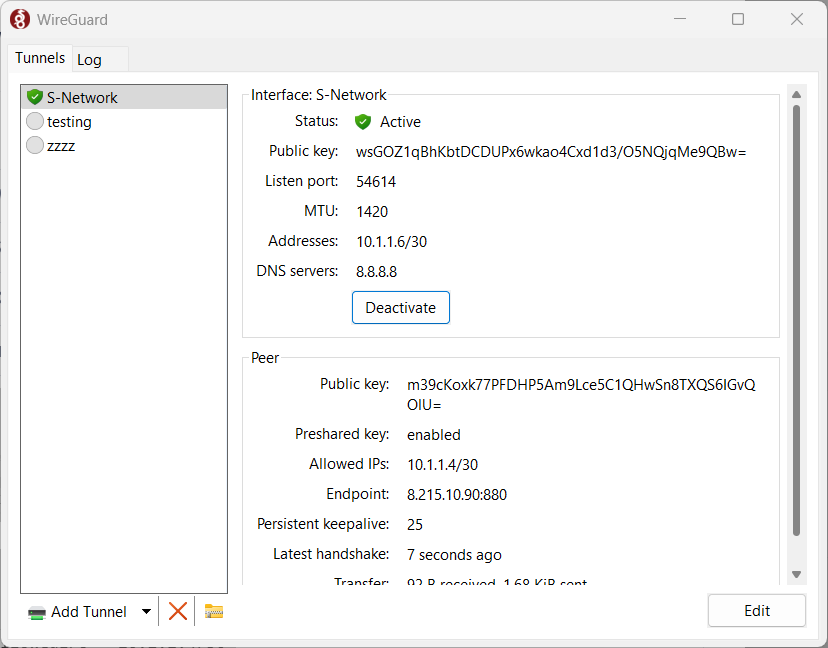
Wireguard activated and VPN connected successfully
- Download and open Wireguard application
Via Windows VPN
In the VPN Account tab, locate the username and password that you’ll need to enter.
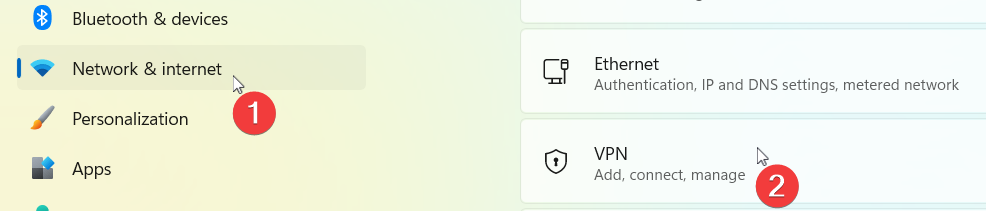
- Search Windows Settings.
- Select Network & Internet then select VPN.
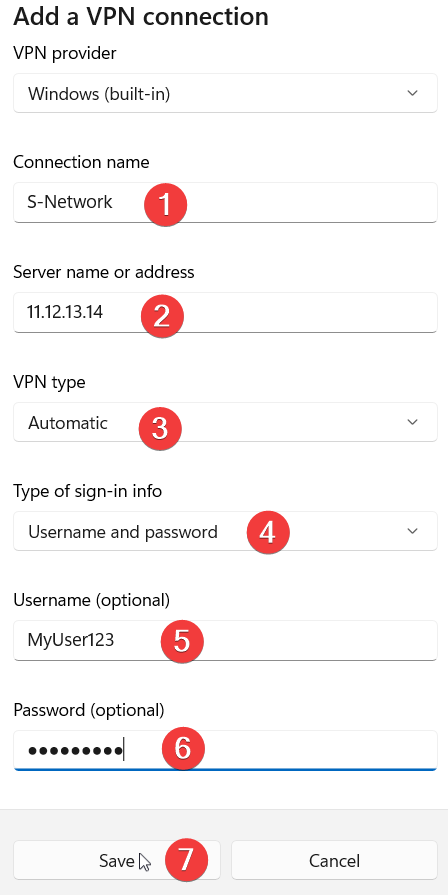
- Click Add VPN.

Enter the Connection Name and Public IP, select VPN Type: Automatic, then input the Username and Password, and click Save.
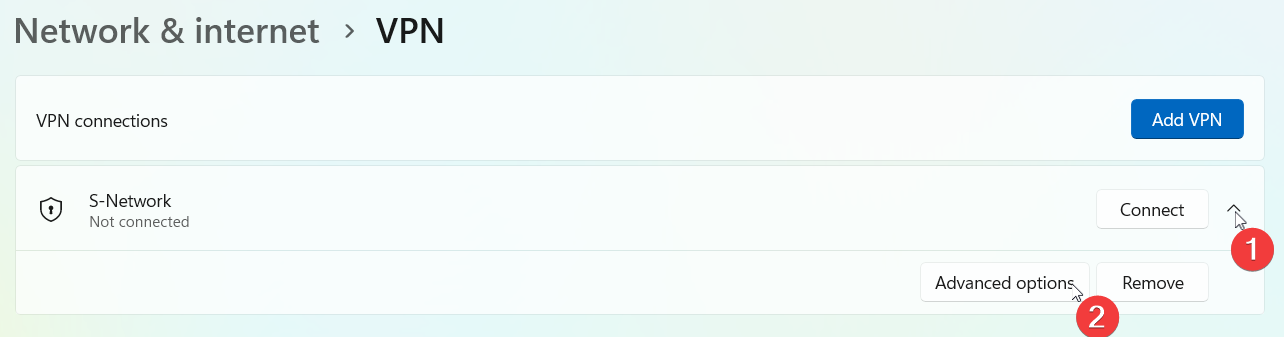
Then click the downward arrow, and select Advanced Options.
- Click More VPN Setting
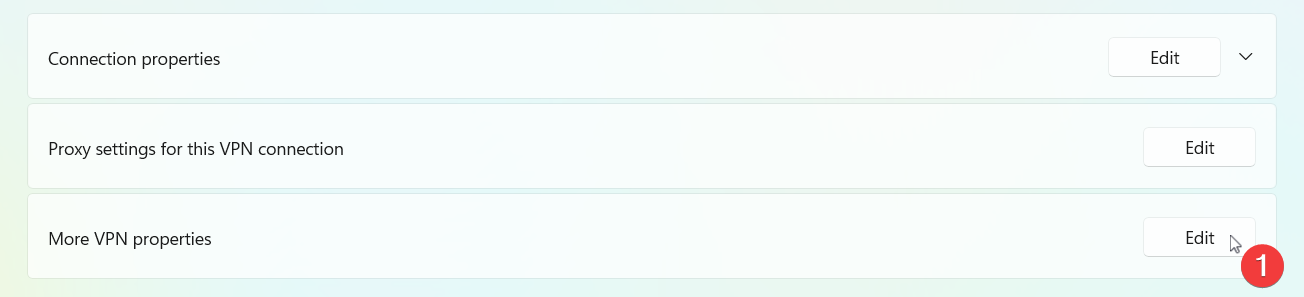
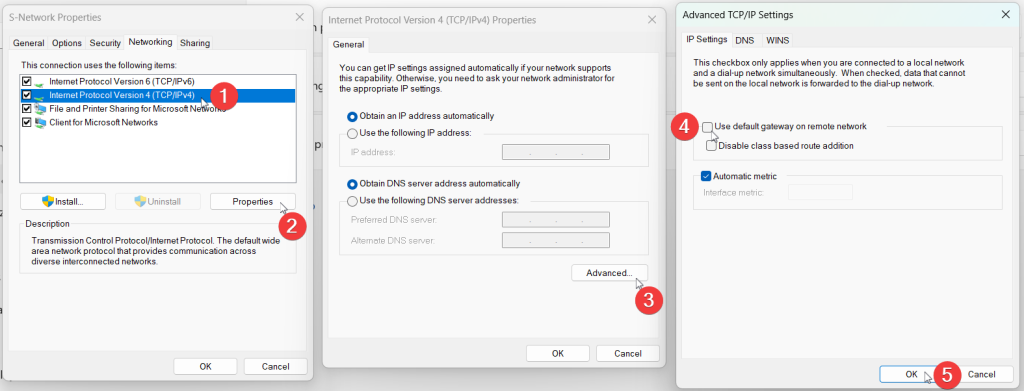
Next, select Internet Protocol Version 4 (TCP/IPv4), click Properties, then click Advanced. Uncheck the box for Use default gateway on remote network, and click OK.
Return to the VPN menu, then click Connect.
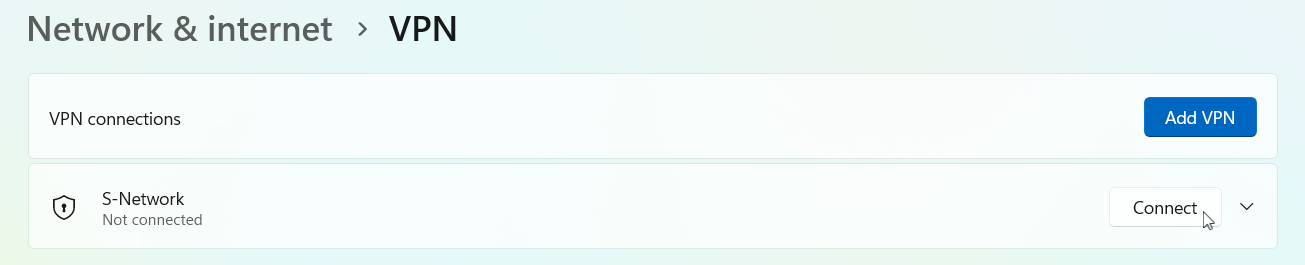
- VPN connected successfully.

5. Allow Firewall Port
- Press
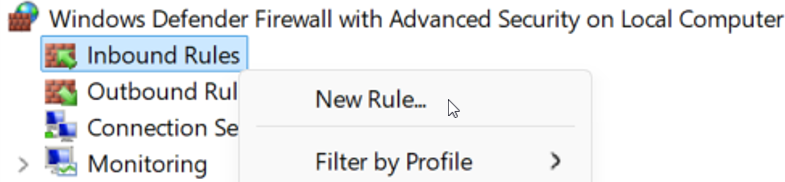
Windows + R, typewf.msc, and press Enter or manually find Windows Defender Firewall with Advanced Security.
- In the left pane, click Inbound Rules. Click right pane, click New Rule…
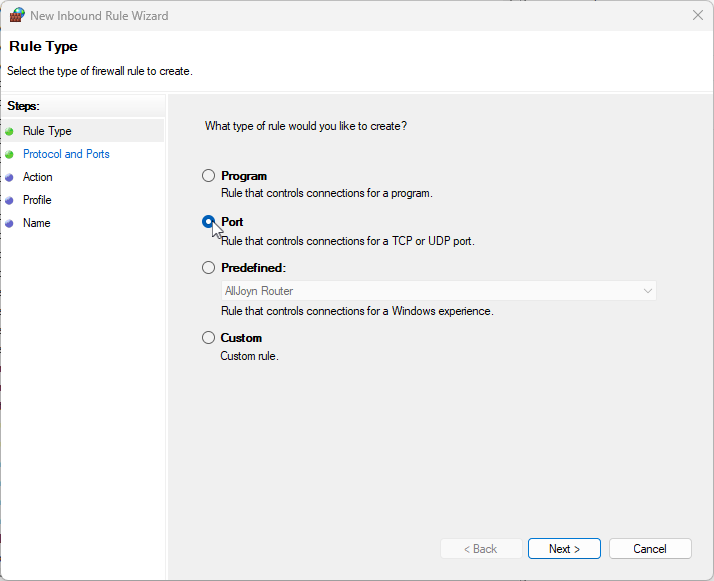
- In the New Inbound Rule Wizard:
Select Port, then click Next.
Choose TCP, then select Specific local ports and clik Next

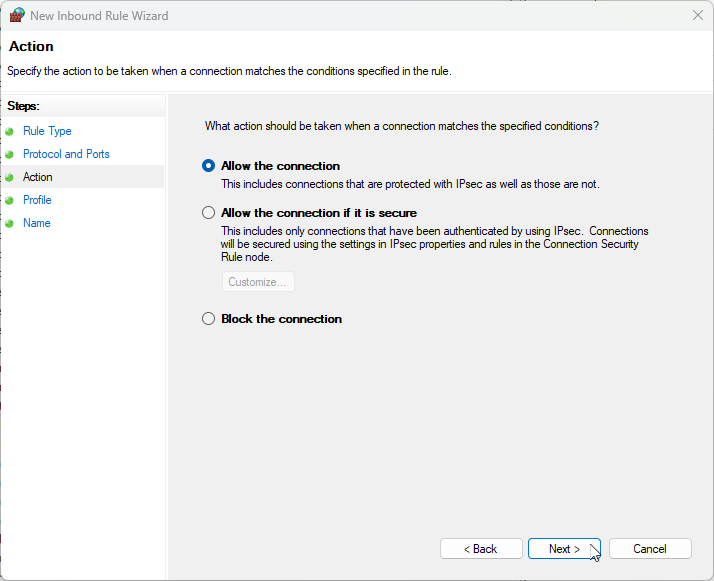
Select Allow the connection, then click Next.
Check all the profiles (Domain, Private, Public) or select based on your network type, then click Next.

Give your rule a name, for example:
Allow HTTP and HTTPSthen Click Finish.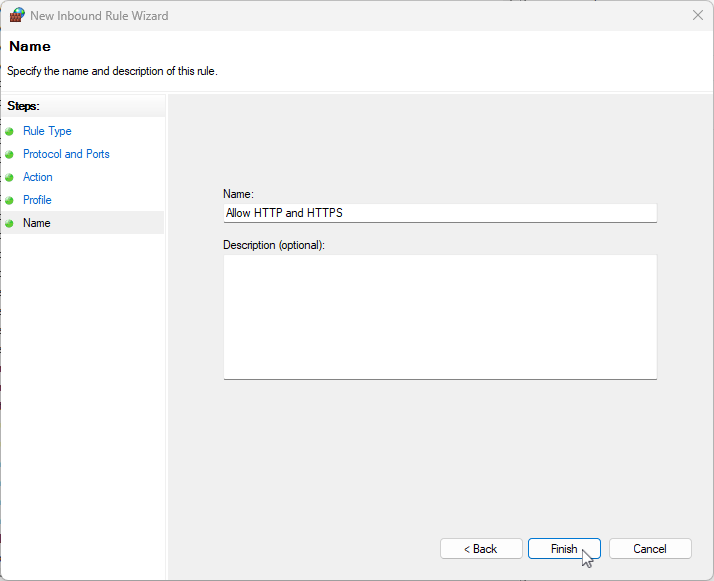
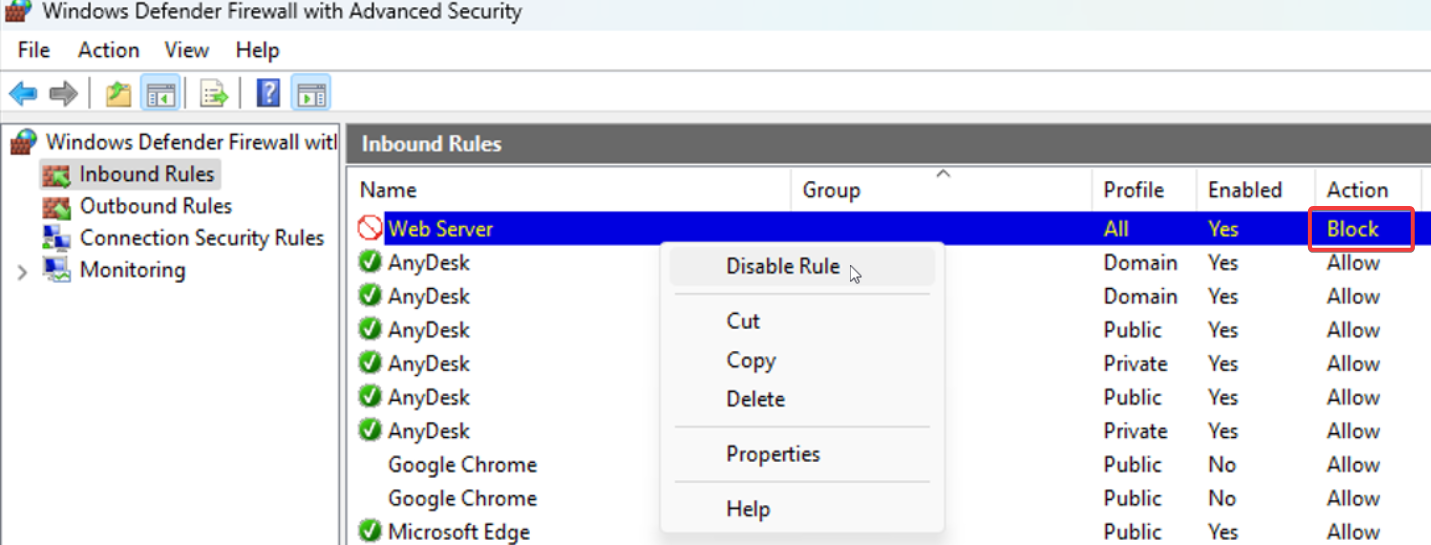
Make sure there are no firewall rules blocking access, as shown in the example below. If such a rule exists, you can right-click on it and select Disable Rule.