Publish Web Server in Ubuntu Linux
2. Modify Port Selection
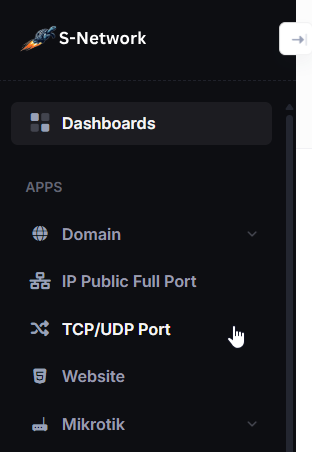
- Select the TCP/UDP Port menu.
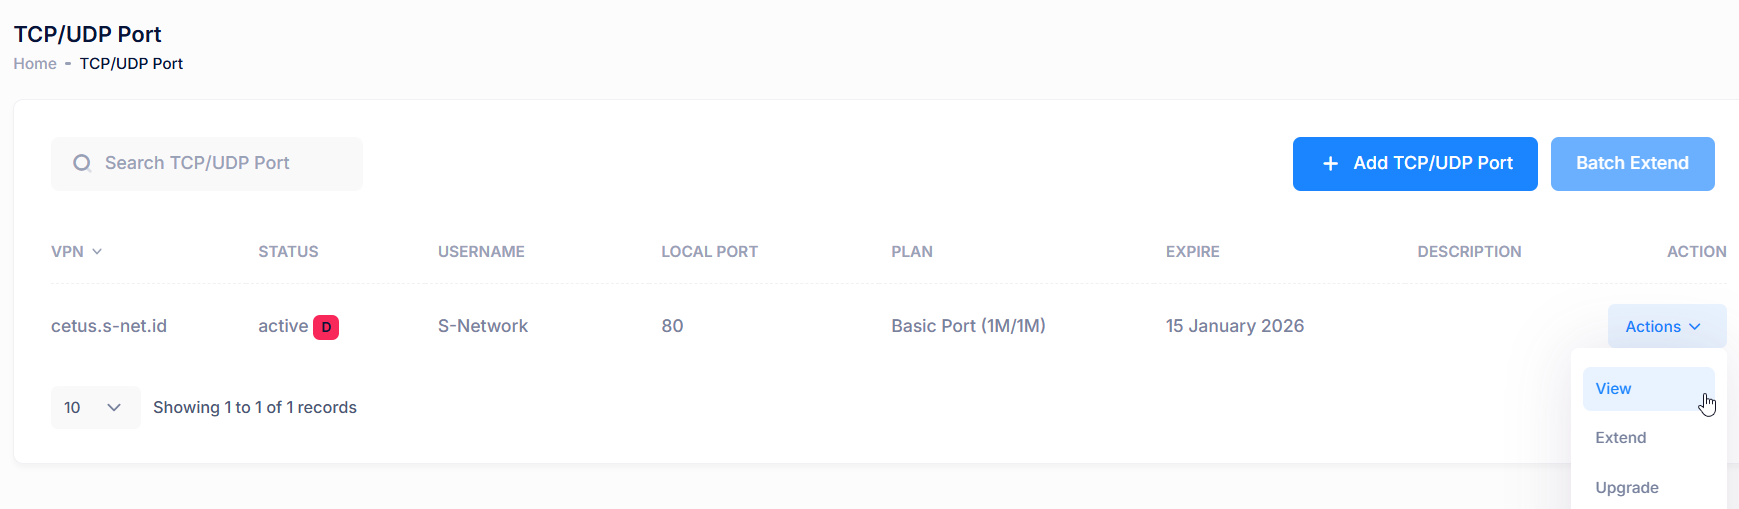
In the TCP/UDP Port list, click Action then click View.
- Select the Port Selection tab, then click the pencil icon to adjust the port.
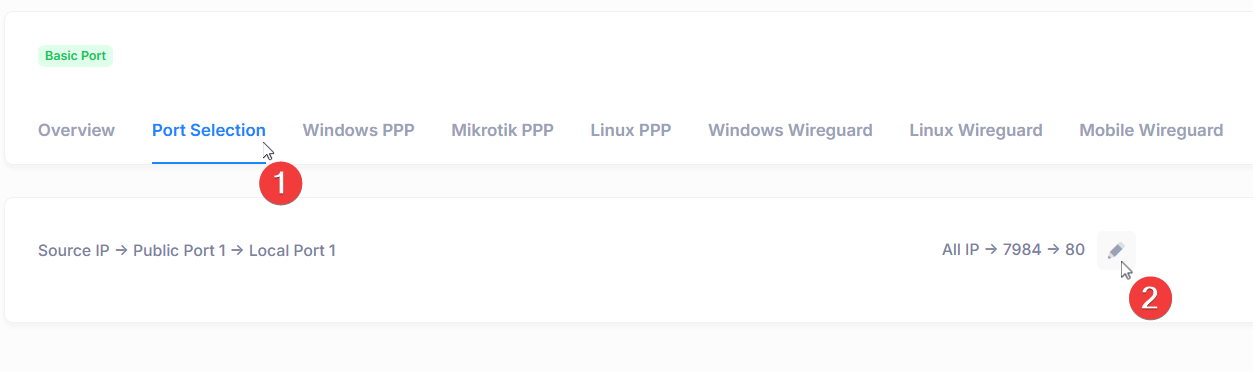
Set the local port to match the local port on the PC/server device. In this case, the web server uses port 80 by default. Then click Save.

3. Connecting VPN Account
We recommend using WireGuard on Ubuntu to connect to your VPN account:
- Install WireGuard using this link. WireGuard Installation Guide for Linux
- Select Linux Wireguard tab then click copy icon to copy wireguard config.
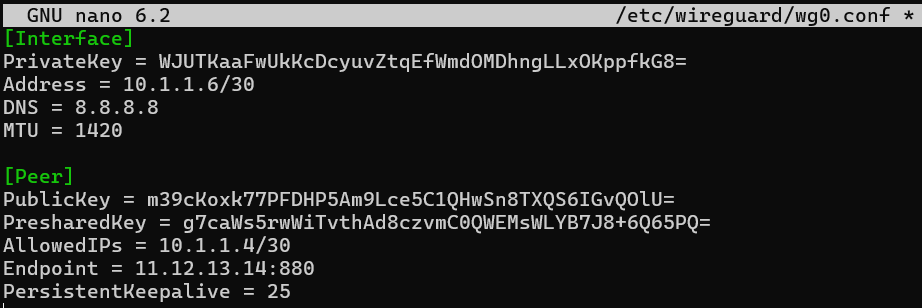
- Create a WireGuard config file:
- Start the VPN connection and enable auto start:
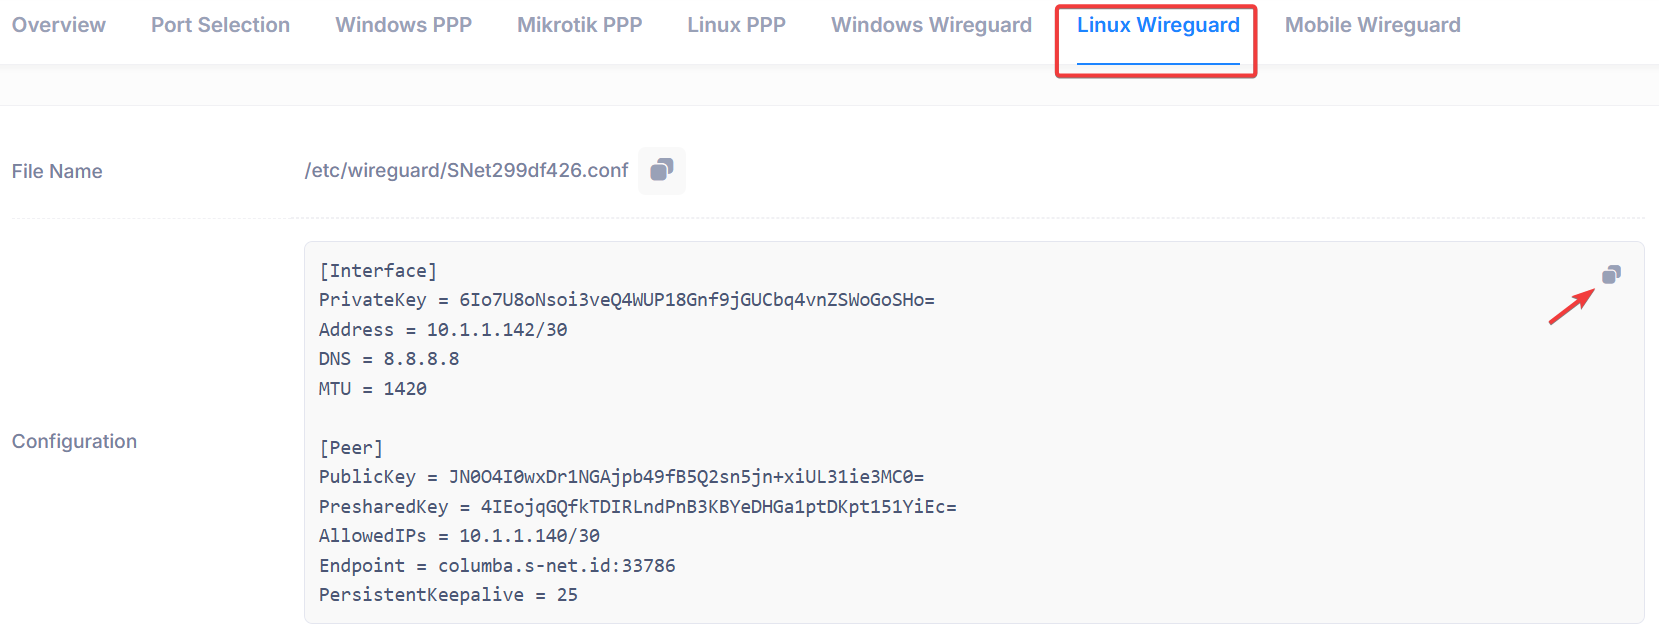
sudo nano /etc/wireguard/wg0.confPaste your copied configuration inside this file, then press Ctrl + O to save and Ctrl + X to exit.
sudo wg-quick up wg0 && sudo systemctl enable wg-quick@wg04. Access Web Server using Public IP and Port
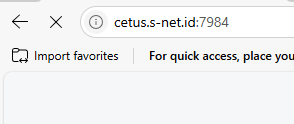
- Find Port Access in Overview Tab (example Port Access is cetus.s-net.id:7984) click copy icon to Port Access
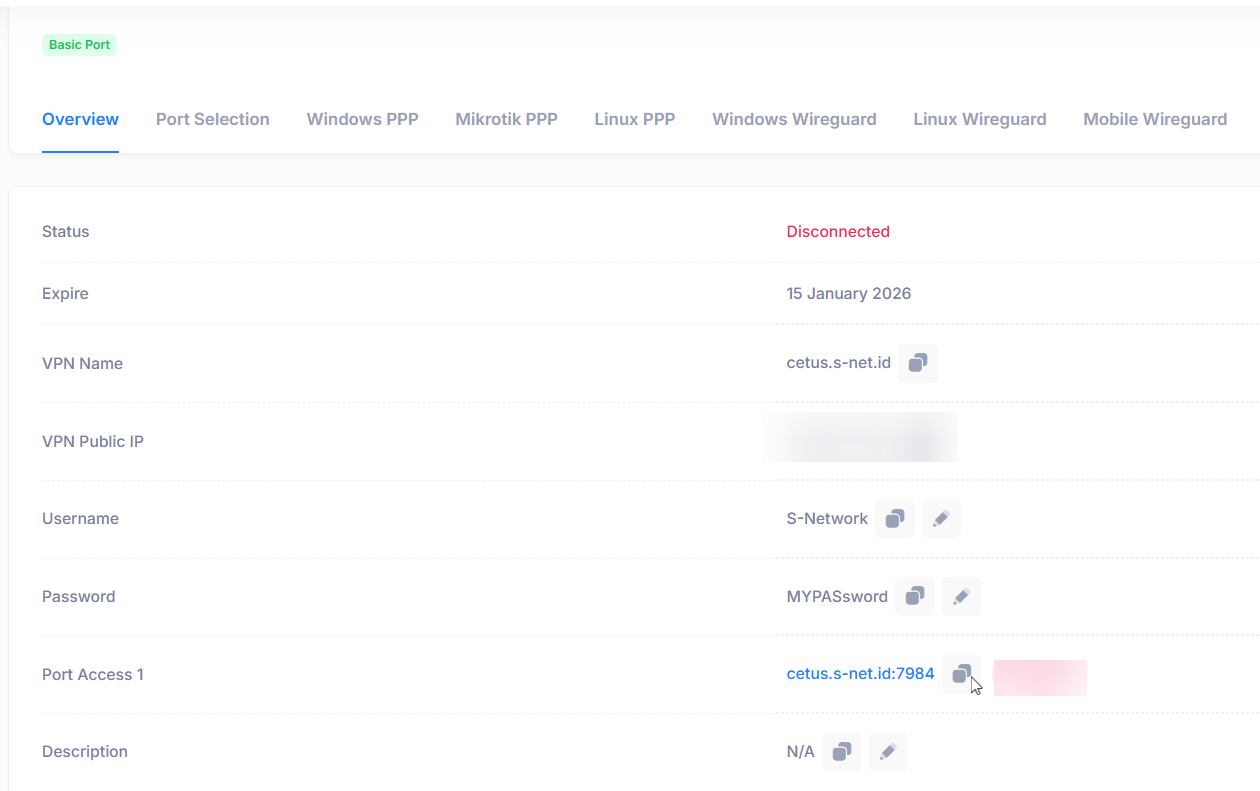
- Open browser then paste Port Access to open web.