VPN Internet for Windows Static Public IP via Wireguard
1. Install Windows Wireguard
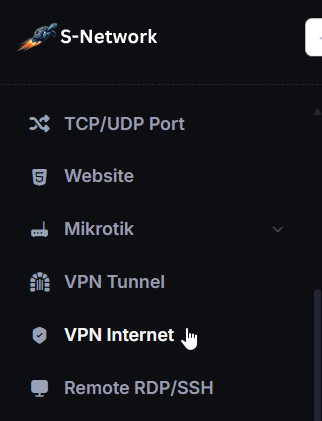
- Select the VPN Internet menu.
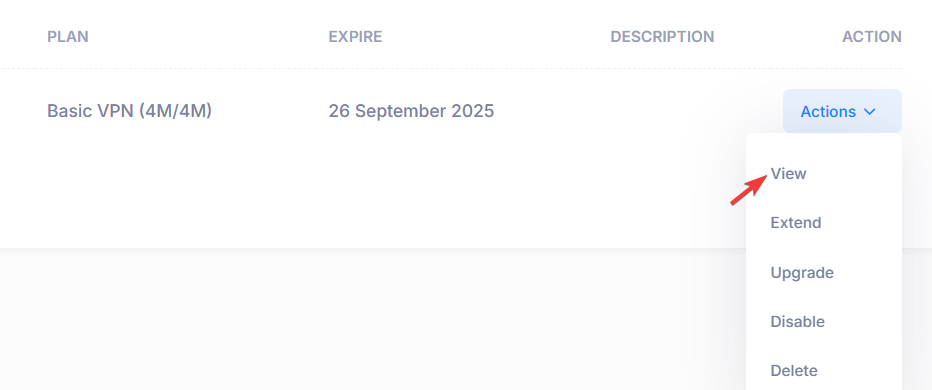
- In the VPN Internet list, click Actions then click View,
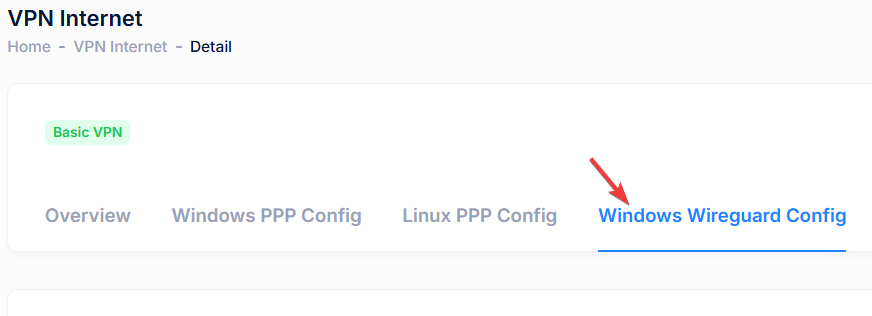
- Select Windows Wireguard Config tab.
- Click installer link.

- Open installer to start installation.

- Wait for installation finished.

2. Connecting VPN Account
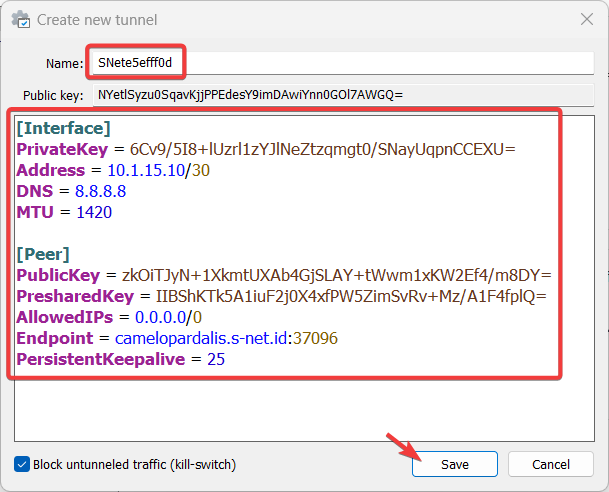
- Save or copy Name and Configuration
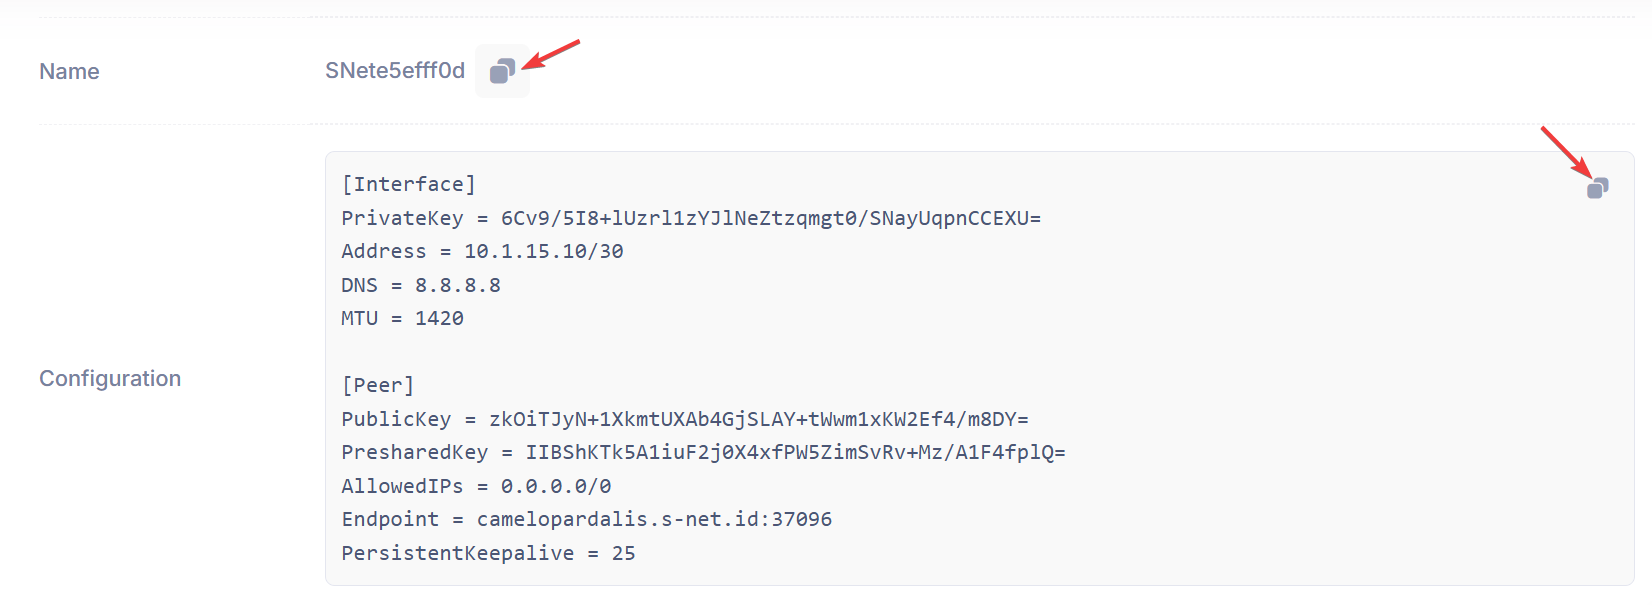
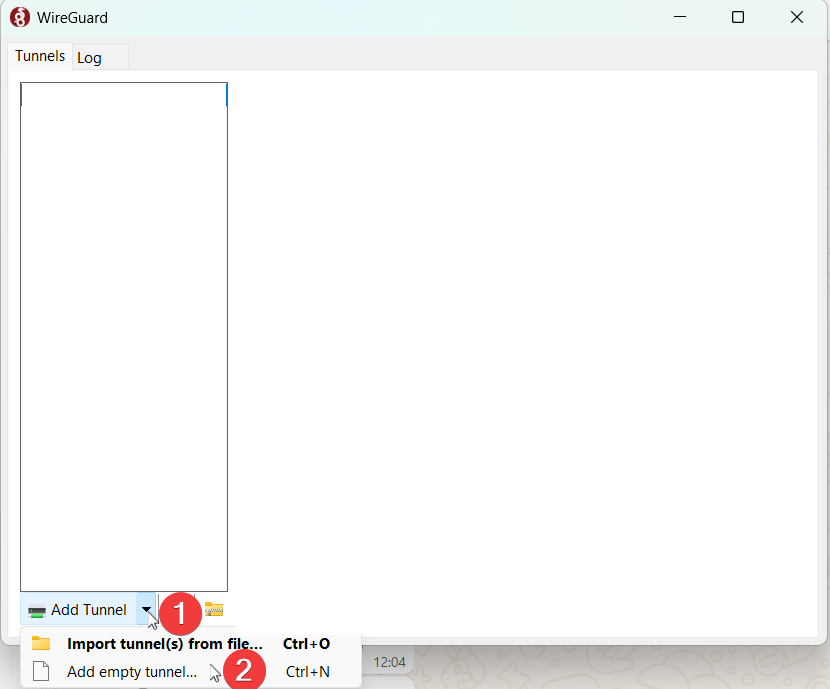
- Open wireguard application, click Add Tunnel then click Add empty tunnel
- Paste Name and Configuration then click Save.
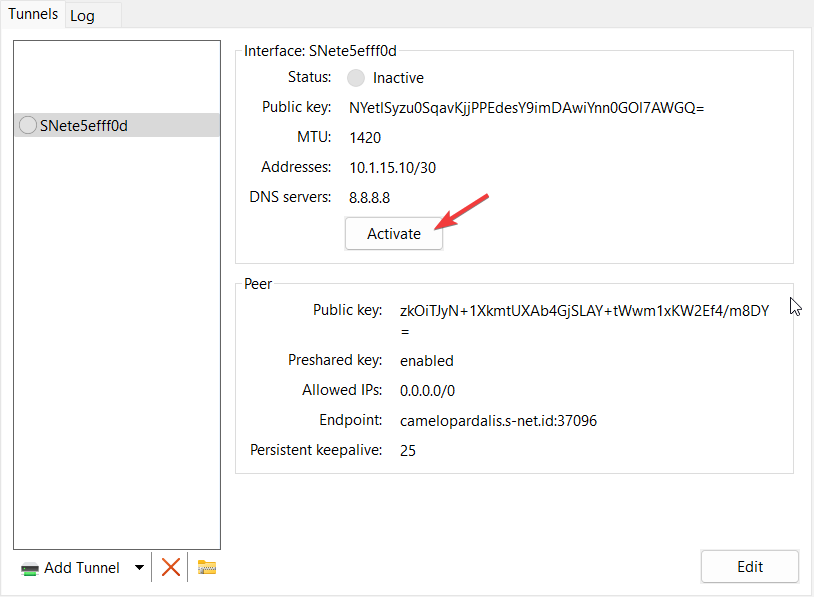
- Click Activate to connect to the VPN Account.
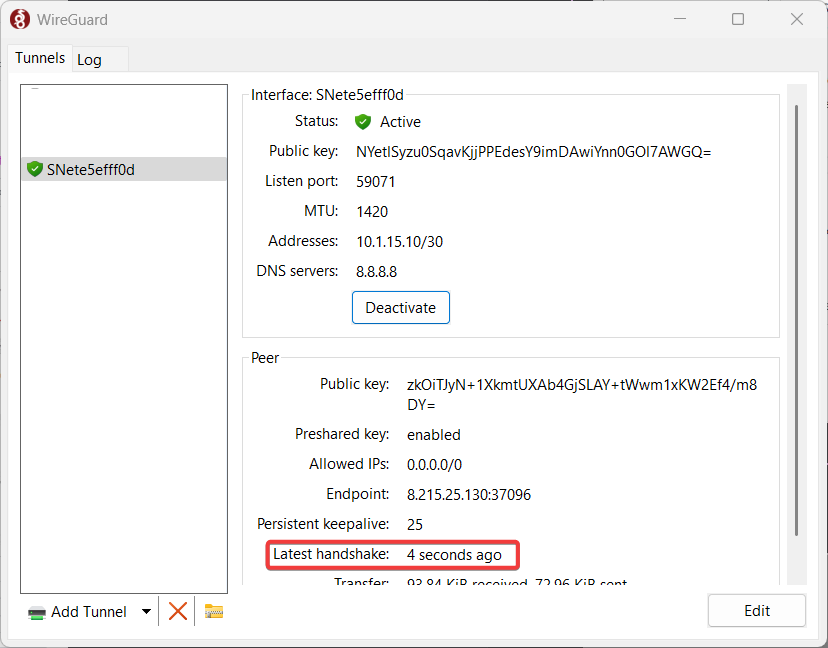
- Wireguard VPN Connection successfully connected with latest handshake presented.
3. Checking Public IP
- In the menu, click What is My IP
- Check your Public IP, this will be static every wireguard connected.