Access File Sharing using Windows Wireguard
1. Enable File Sharing in Windows
File Sharing in Windows 10 allows you to easily share folders, files, or even printers with other computers on the same local network (LAN or Wi-Fi). This feature is especially useful for teamwork, sharing documents in an office environment, or simply transferring files between PCs without the need for a USB flash drive.
Here are the steps to enable File Sharing in Windows 10:
https://www.s-net.id/sharing-file-folder-di-windows/
2. Connect First VPN Account
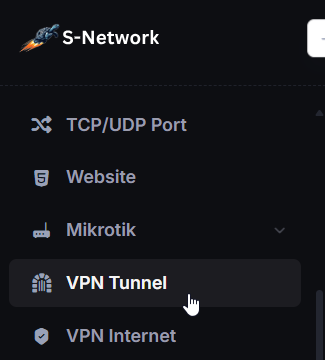
- Select the VPN Tunnel menu
- In the VPN Tunnel list select Action then select View

- In the VPN Account tab, klik Actions then select Config/Script

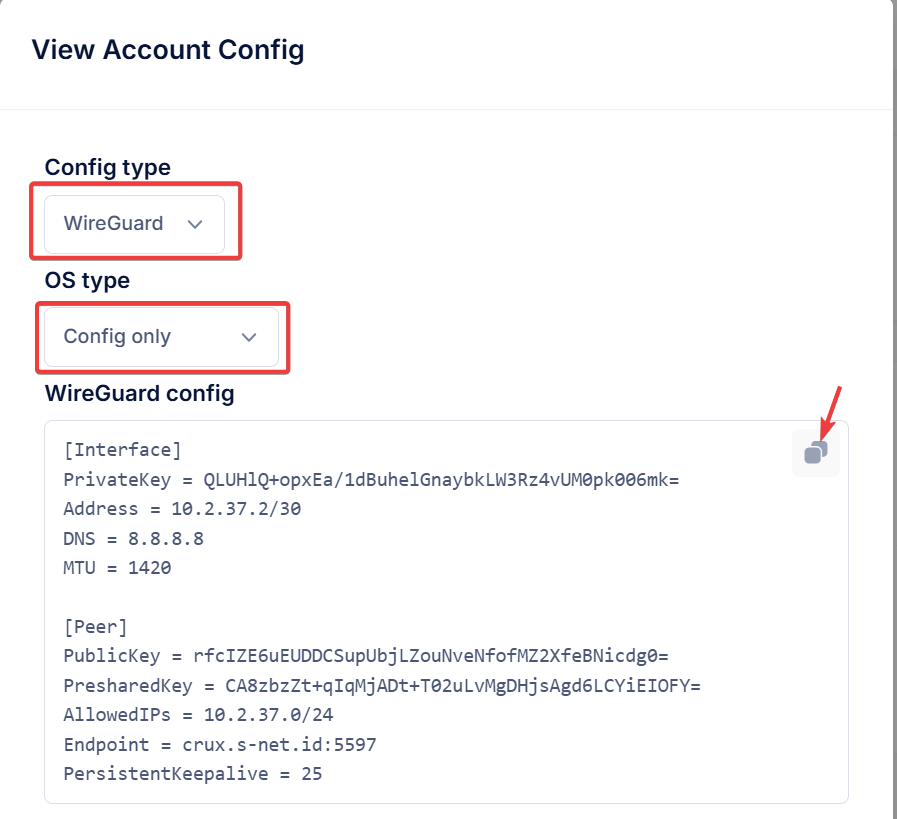
- Select Wireguard config type, then select Config Only. Click copy icon to copy script.
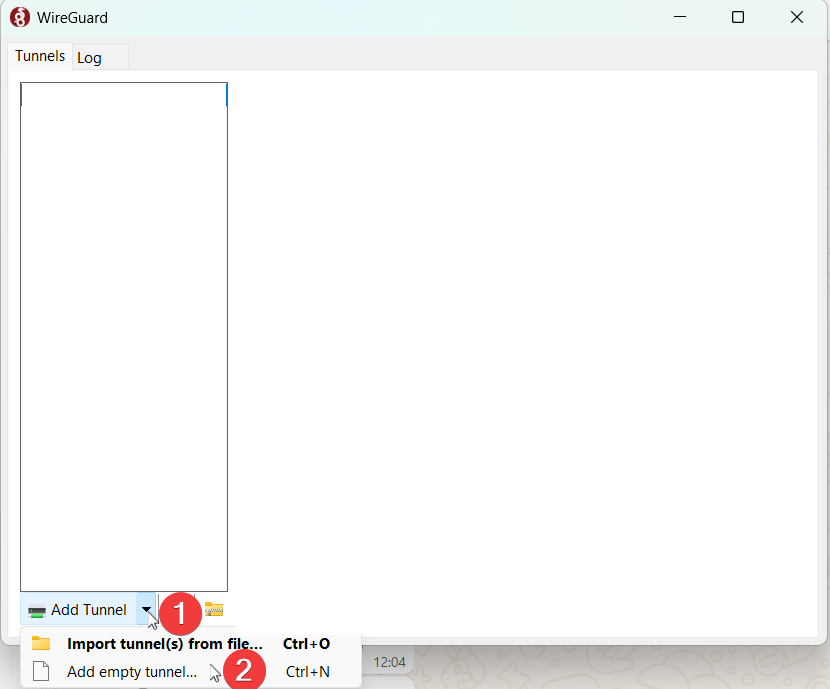
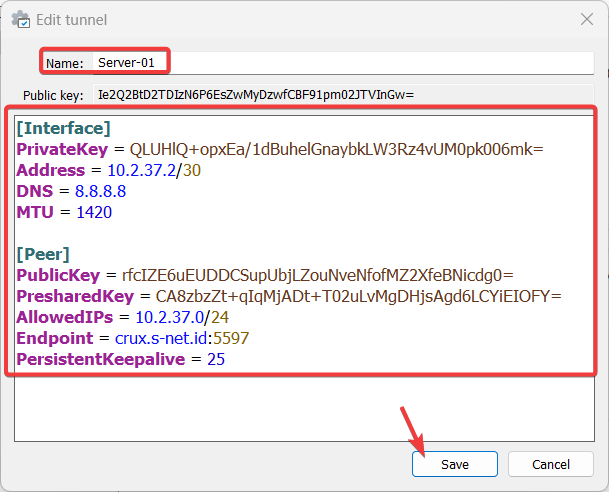
- Open wireguard application, click Add Tunnel then click Add empty tunnel
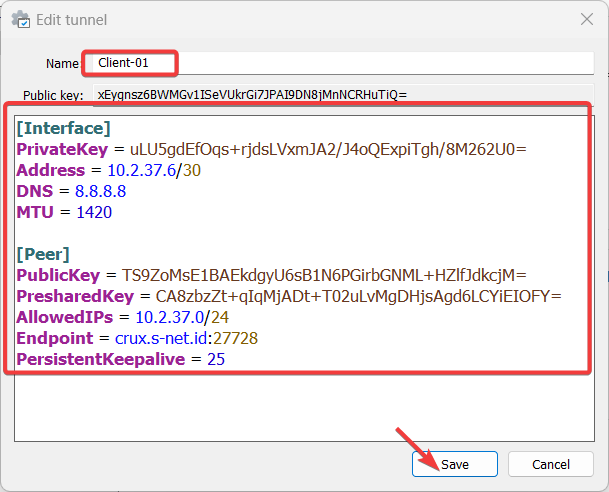
- Input the Name and paste config here then click Save.
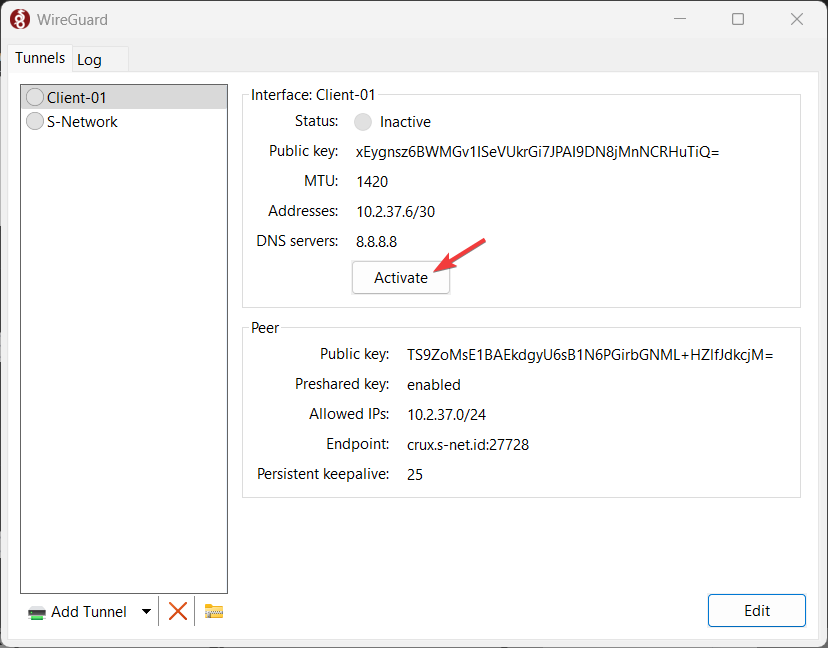
- Click Activate to connect to the vpn
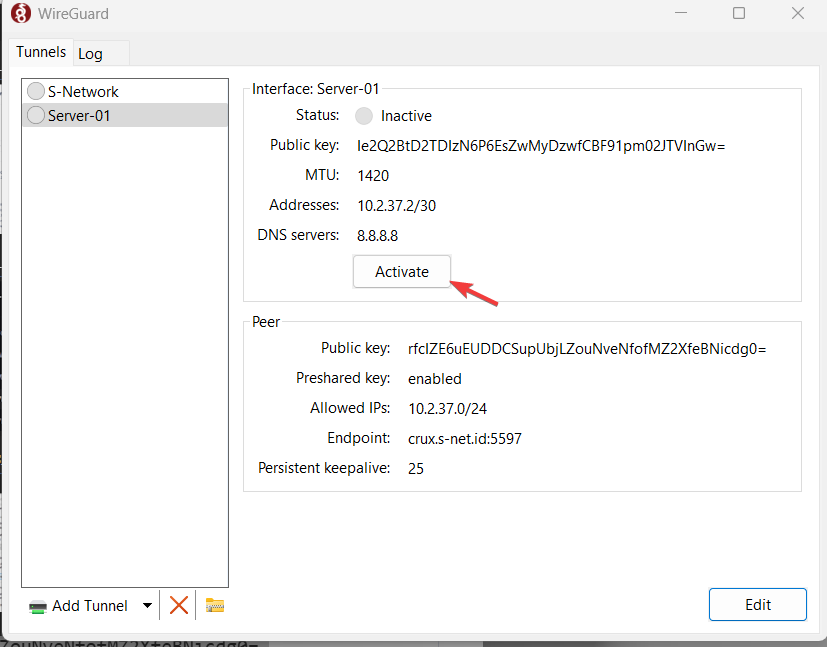
- VPN is successfully connected if the latest handshake is present

- The first VPN Account used by server is successfully connected.

3. Connect Second VPN Account
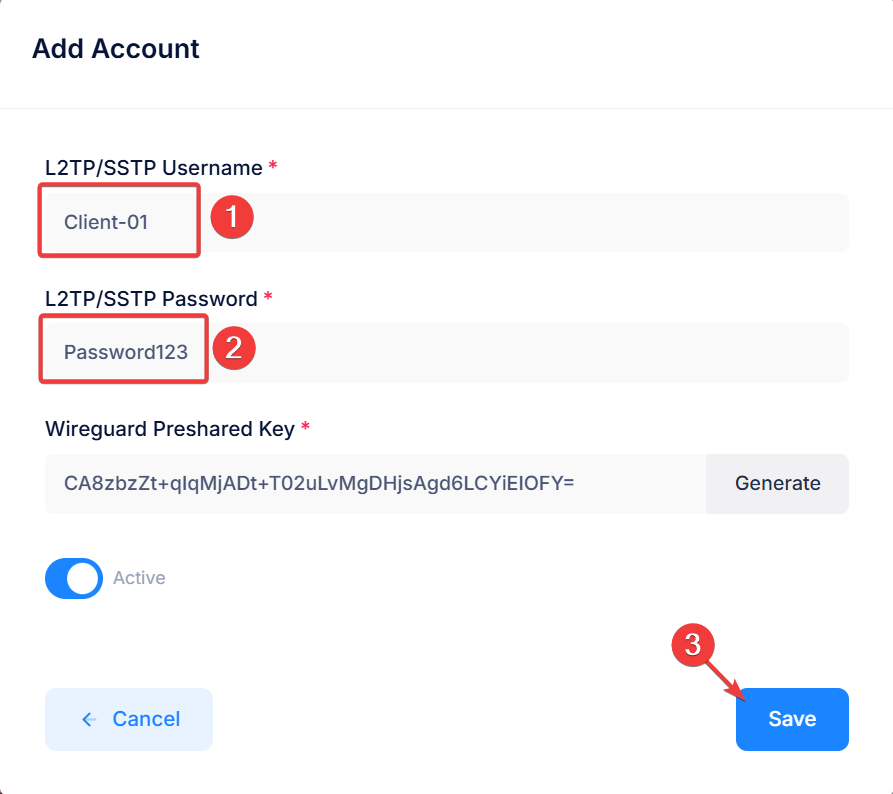
- Create new VPN Account used for client of file sharing using click Add VPN Account.

- Enter your desired username and password then click Save.
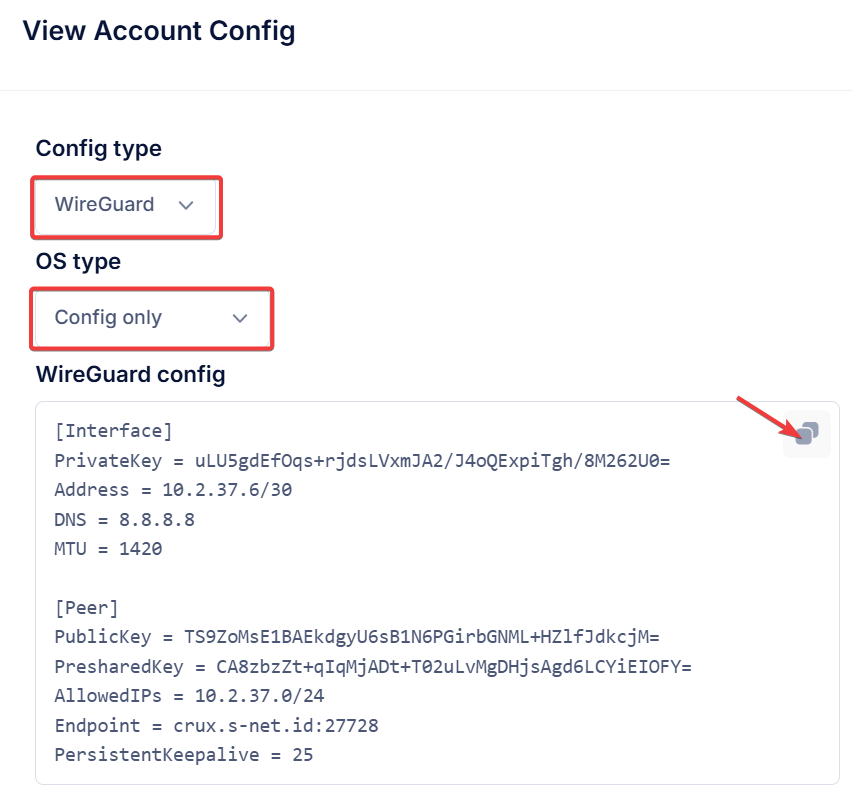
- After new VPN Account created. Click Actions then click Config/Script.

- Select Wireguard config type, then select Config Only. Click copy icon to copy script.
- Open wireguard application, click Add Tunnel then click Add empty tunnel
- Input the Name and paste config here then click Save.
- Click Activate to connect to the vpn
- VPN is successfully connected if the latest handshake is present
- The second VPN Account used by client is successfully connected.

4. Access File Sharing From the client to the server
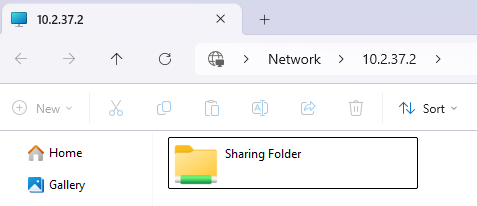
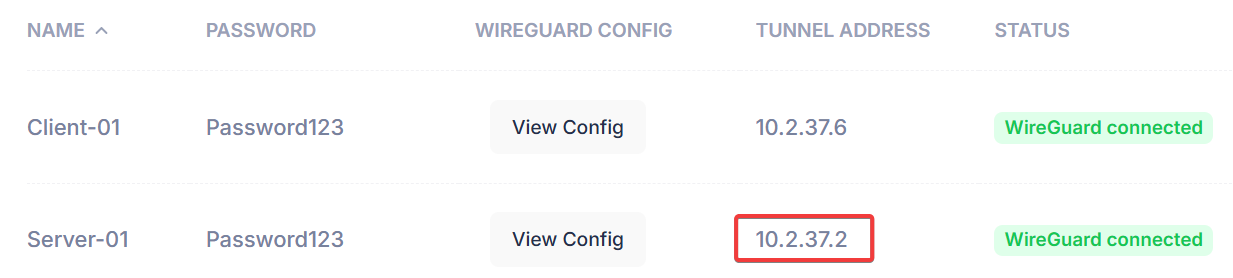
- Copy the tunnel address owned by the server
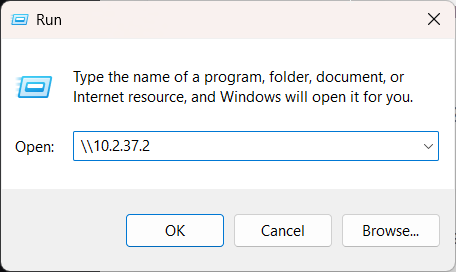
- Open your Windows Run by click Windows + r then type \\10.2.37.2 then click OK
- Enter the credential of Windows account.
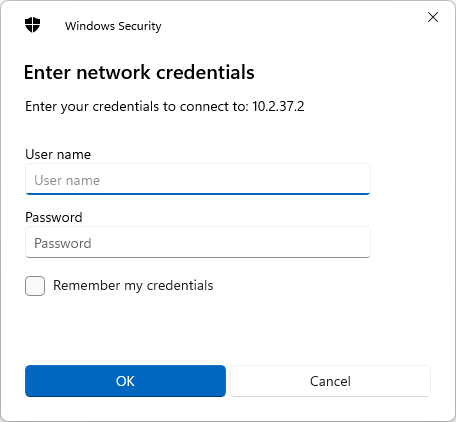
- File sharing successfully accessed via VPN Tunnel.